


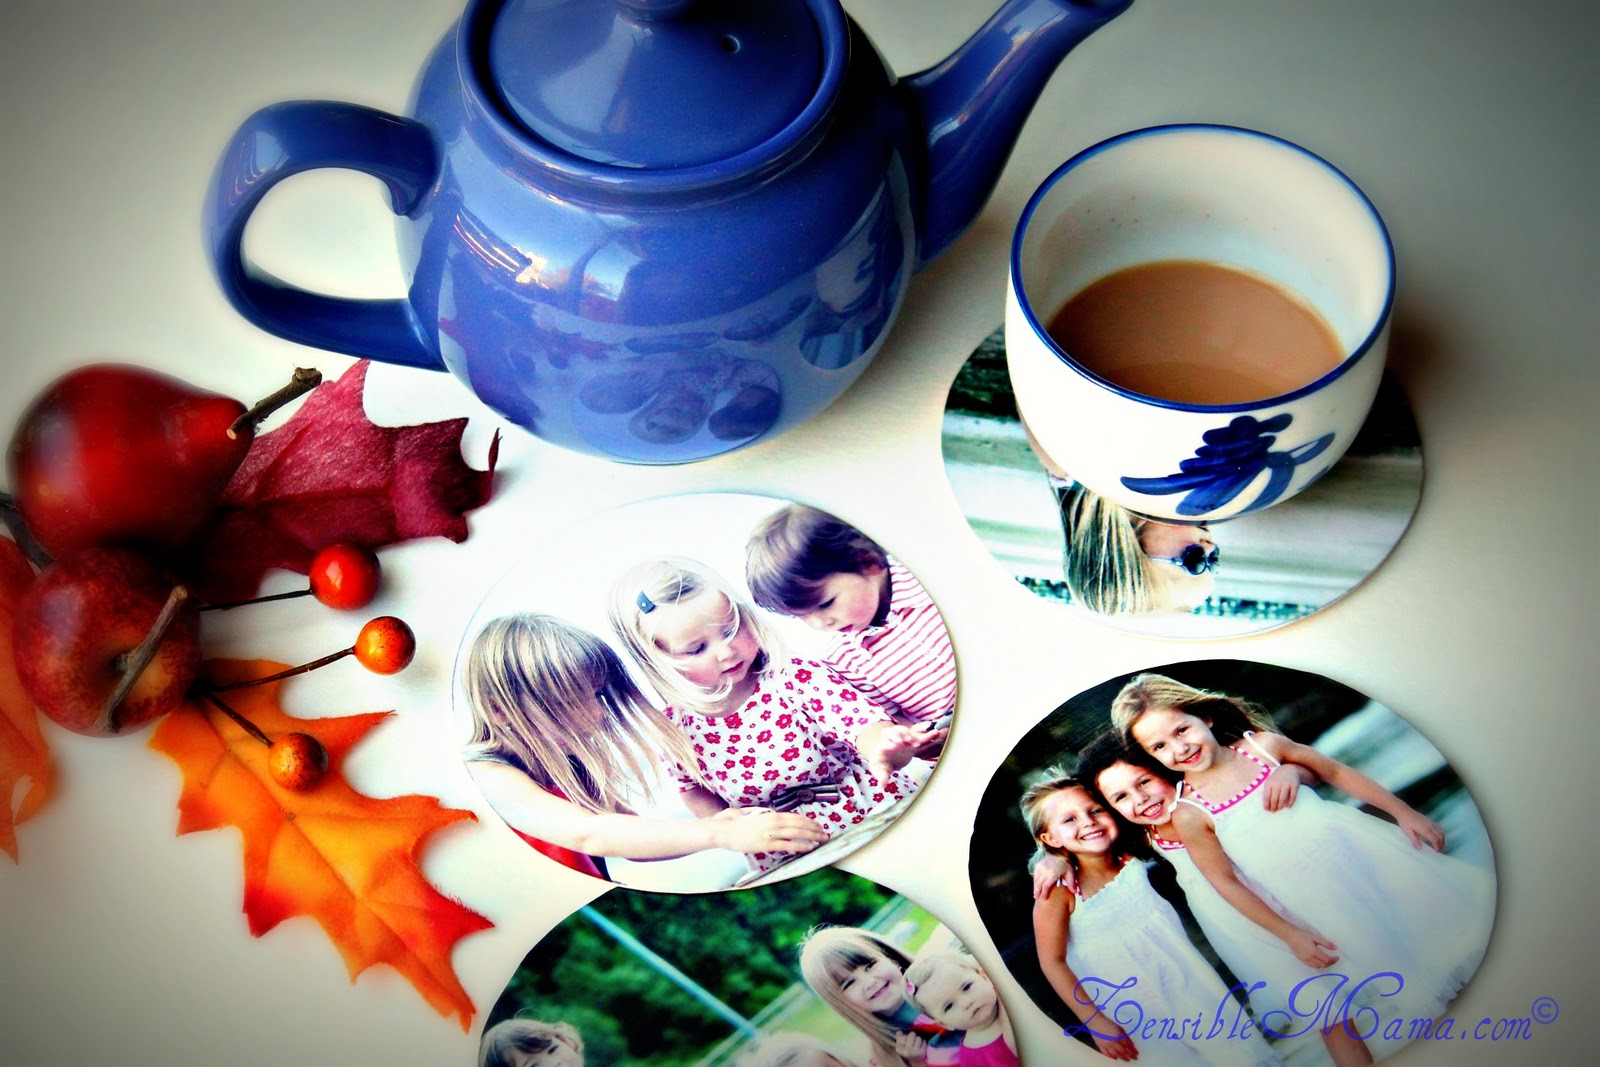
Holidays always involve drinks to be merry, so, let's start with the COASTERS:
My inspiration for this idea is from personal experiences going to classy restaurants or cafes' where they use those thin but attractive disposable paper coasters. My idea hopes to eliminate "disposal" at first use! Now, the cards I have available have children's pictures on them which looked cute as a gift for someone who adores children. I'm thinking a grandma or a teacher perhaps?

Materials. You'll need glue (either a stick glue or liquid), mod podge, scissors, pencil, a medium-sized round lid (which I got from my soup cup at Panera or whatever you can find in your kitchen for a circle), sturdy cardboard, brush or sponge and old or unusable greeting cards.
Instructions:

1- Outline your circle on the card where you intend to use then cut.
2- Apply the glue on the back of your cut-out.
3- Stick them on the sturdy cardboard and cut.
4- Apply mod podge on the surface of your pre-finish coasters. This will seal the images and protect the paper from moisture to give it a longer life.
5- Let the coasters dry for 15 minutes or so, depending on how thick you applied your sealant.
Voila! Attractive coasters for gifting to your childs' favorite teacher (sinister hint) or simply, for personal use. The possibility is endless.
Cup of Chai Tea, anyone?
The coasters are mighty attractive, aren't they? My daughter decided she will gift this to her teacher. I think she's aiming to be a teacher's pet. Not a bad idea. Let's see if it works!
Now onto the bookmarks. I personally love this one! Tutorial is in a different post to make it easier for you to navigate through the article. Simply click here: Bookmark Tutorial and we'll transport you there in a flash.


Interesting Stories You might also like:
How to create flower bouquet from Fall leaves
DIY: Twig Fairy Costume
Map of 50 States with 50 special collectible coins
I love this idea!!
ReplyDeleteWhat a GREAT idea, I didn't even think of that! I love the coaster and bookmarks. You are so crafty!! Love it!
ReplyDeleteThanks Lolli! I do love how it turned out.
ReplyDeleteThanks Jennifer! I'm currently digging through my piles of old cards! lol
ReplyDeleteGreat Idea!! I absolutely LOVE the coasters!!
ReplyDeleteThose are great - could be good for all kinds of cards!! I like it!
ReplyDeleteOoh that's a neat idea! I bet you could do something similar with leftover wrapping paper scraps for small Christmas gifts :)
ReplyDeleteIn making bookmarks, you need to use good adhesives to adhere the surfaces. This will make the bookmarks more durable.
ReplyDelete